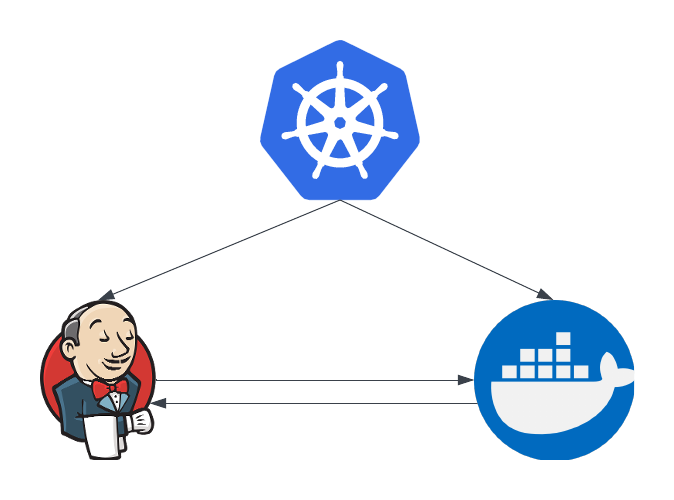
I was recently trying to build Docker images with Jenkins. That sounds easy, but Jenkins was running on Kubernetes and so it was already in a container. To make things harder, I needed to then push the images into a private registry with a custom certificate.
Automating this is difficult, but it can be done efficiently.
The docker runner
I have the Jenkins Kubernetes plugin installed and configured. I will not cover that here since the documentation is clear to help you install it.
The first thing to do is decide how you will run Docker. One option is to use the dind image (docker in docker), which can be found on docker hub. I found that to be a challenge since I needed to use a custom certificate authority and I could not get that to work. There was also the option of mounting the docker sock to access docker on the host, but that was not an attractive option.
I created a new docker image with my root certificate authority.
1
2
3
4
5
6
7
8
9
10
11
12
13
14
15
16
17
18
19
20
21
FROM ubuntu:22.04
LABEL maintainer="perrio.io"
RUN apt-get update && \
    apt-get install -y \
    ca-certificates \
    curl \
    wget \
    gnupg \
    lsb-release && \
    mkdir -p /etc/apt/keyrings
RUN curl -fsSL https://download.docker.com/linux/ubuntu/gpg | gpg --dearmor -o /etc/apt/keyrings/docker.gpg
RUN echo \
  "deb [arch=$(dpkg --print-architecture) signed-by=/etc/apt/keyrings/docker.gpg] https://download.docker.com/linux/ubuntu \
  $(lsb_release -cs) stable" | tee /etc/apt/sources.list.d/docker.list > /dev/null

RUN apt-get update && \
    apt-get install -y docker-ce docker-ce-cli containerd.io docker-compose-plugin

RUN wget -O root-ca.crt --no-check-certificate https://files.lab.home/root-ca.crt && \
    mv root-ca.crt /usr/local/share/ca-certificates/root-ca.crt && \
    update-ca-certificates
Here I am installing docker, downloading the root certificate authority and updating the certificates. You might need to do this if you are not using custom certificates but this worked for me.
Jenkins Pipeline
To use this container I defined the agent in the Jenkinsfile.
1
2
3
4
5
6
7
8
9
10
11
12
13
14
15
16
17
18
19
20
21
22
23
24
25
26
27
28
29
30
31
32
33
34
35
36
37
38
39
40
41
42
43
44
pipeline {
    agent {
        kubernetes {
            yaml '''
        apiVersion: v1
        kind: Pod
        spec:
          volumes:
            - name: build-cache
              persistentVolumeClaim:
                claimName: build-cache
          serviceAccountName: jenkins-agents
          containers:
         - name: docker
            image: myreg/docker:1
            volumeMounts:
            - name: build-cache
              mountPath: /var/lib/docker
              subPath: docker
            command:
            - cat
            tty: true
            securityContext:
              privileged: true
       '''
        }
    }
    stages {

        // checkout and test

        stage('Build UI Docker Image') {
            steps {
                container('docker') {
                      sh 'dockerd & > /dev/null'
                      sleep(time: 10, unit: "SECONDS")
                      sh "docker build  -t myreg/myapp/ui:$BUILD_NUMBER ."
                      sh "docker push myreg/myapp/ui:$BUILD_NUMBER"
                }
            }
        }
    }
}
Here I define a container called docker for the builds. Notice that I have set securityContext.privileged: true to allow the container to run docker. The other important step is the volume. I am using a peristentVolumeClaim to cache the contents of the /var/lib/docker` directory. This contains the docker layer cache and greatly speeds up the builds.
Notice the dockerd command, this is because docker will not automatically start with the container so we have to start it and give it a few seconds to be ready.
Summary
Jenkins on Kubernetes is an extremely powerful tool. Some elements are harder because you are running in containers but this approach is working for me.
